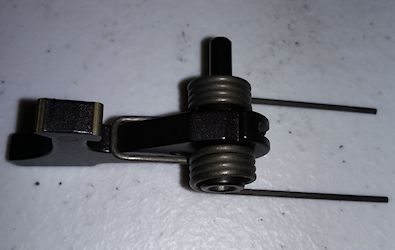
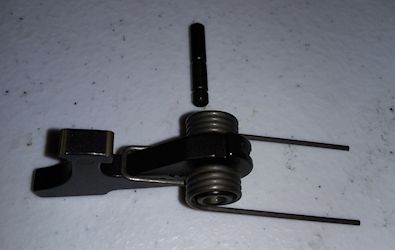
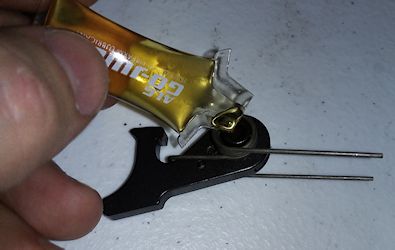
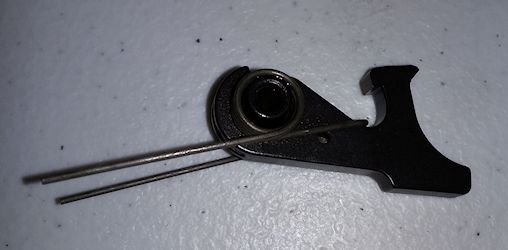
Geissele SSA-E Two Stage AR-15 Trigger Installation Instructions
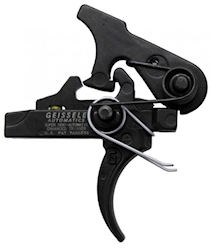
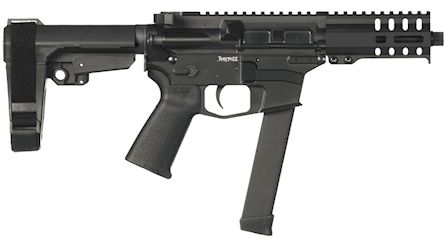
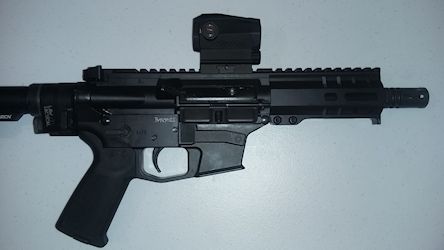
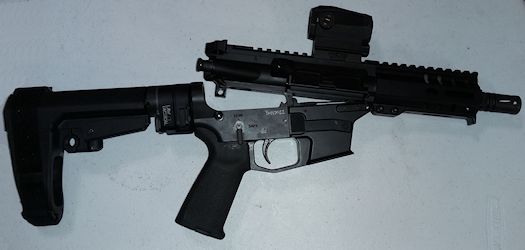
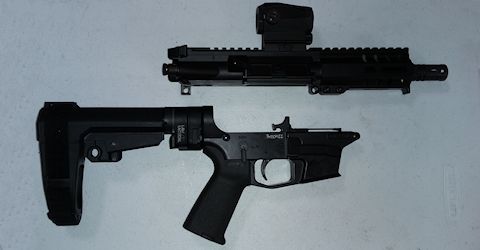
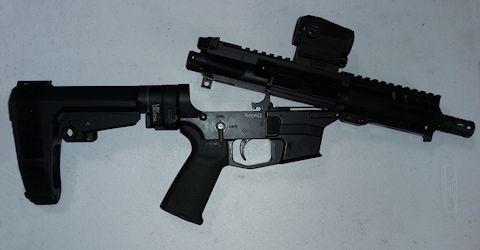
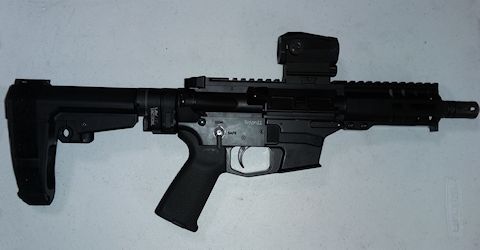
These instructions explain how to install a Geissele SSA-E Two Stage AR-15 Trigger. A CMMG Banshee 300 is used here but the process is similar if you have a different brand.
These are the steps I took to help a friend install a Geissele SSA-E trigger in his rifle.
I'm not a gunsmith so I recommend work on firearms be carried out by a licensed professional.
This is a guide to help you be a more knowledgeable consumer and the installation instructions that come with the part should be followed.
I assume no liability for any injury to any person or damage to your firearm resulting from attempting this.
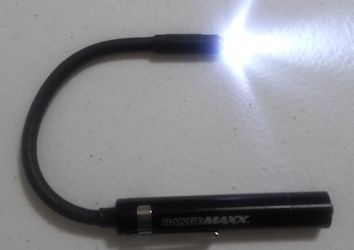
Step 1 - Items used in these instructions
You will also need a punch, possibly a screwdriver, and a vise if you're using a vise block.
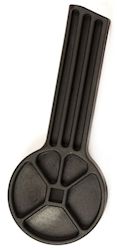
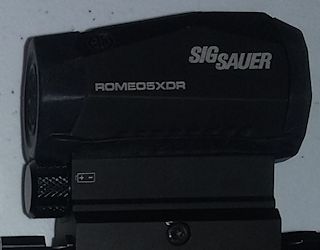
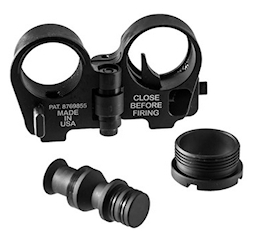
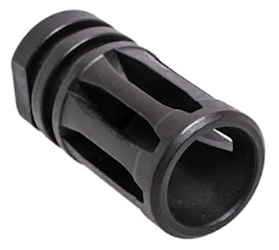
Step 2 - Other items shown in these instructions - in case anybody is curious what some of the other non-standard Banshee parts are
These aren't part of the installation instructions but they're included in case anybody is curious what some of the other non-standard Banshee parts are.
Step 3 - Make sure your rifle isn't loaded
Make sure the magazine is removed, you have no round in the chamber.
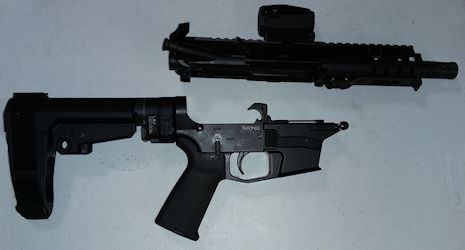
Step 4 - Remove the upper group
Release the Take Down Pin and the Pivot Pin and remove the upper group.
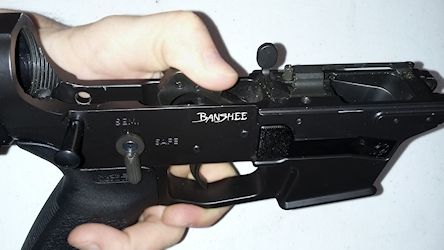
Step 5 - Get a feel for how the trigger operates
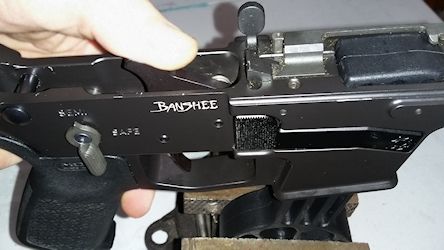
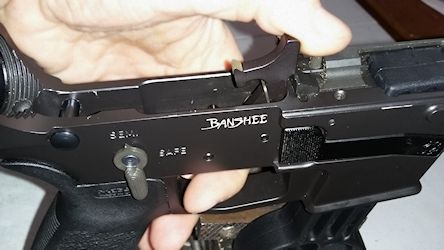
Test how the trigger operates so you know what to expect when you're finished.
When doing these tests guide the hammer with your thumb so the hammer doesn't slam forward.
When doing these tests guide the hammer with your thumb so the hammer doesn't slam forward.
- 1a) Cock the hammer by pushing it back with your thumb.
- 1b) With the safety off, guide the hammer with your thumb so it doesn't slam forward and pull the trigger. The hammer should release.
- 2a) Cock the hammer.
- 2b) Pull the trigger and hold the trigger back. The hammer should release.
- 2c) Cock the hammer. It should get captured.
- 2d) Release the trigger. You should hear it click, meaning it's ready to be pulled again.
- 2e) Pull the trigger. The hammer should release.
- 3a) Cock the hammer.
- 3b) Engage the safety.
- 3c) Pull the trigger.
- 3d) The hammer should not release.
- 3e) Disengage the safety.
- 3f) Pull the trigger. The hammer should release.
Step 6 - Make sure the hammer is not cocked
Make sure the hammer is not cocked
Step 7 - Before pictures of how the trigger looks
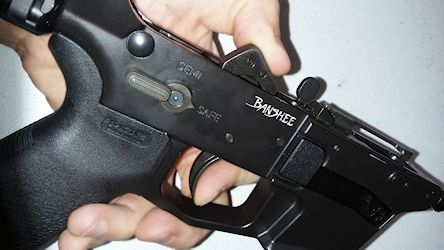
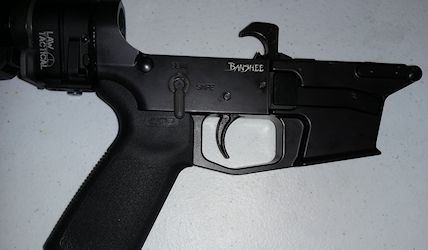
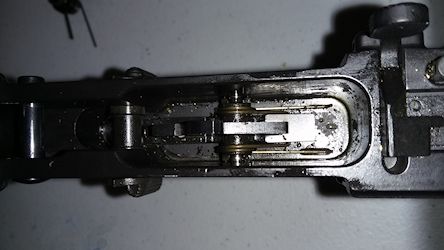
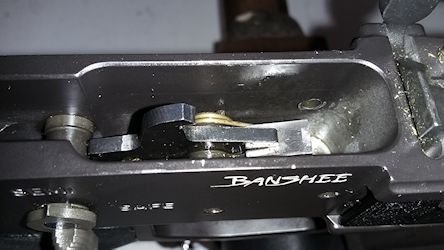
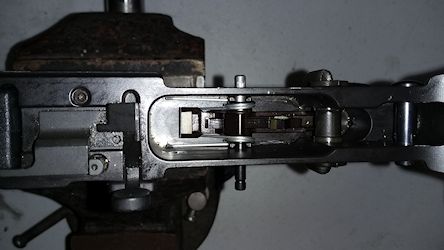
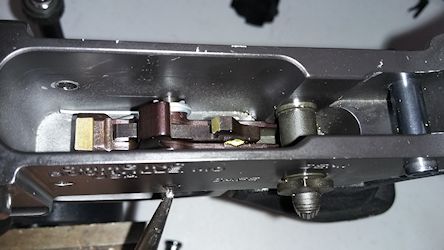
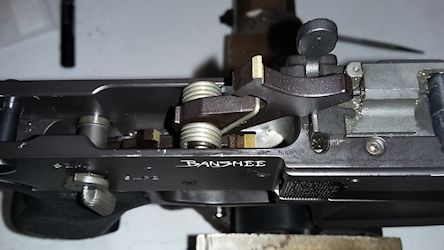
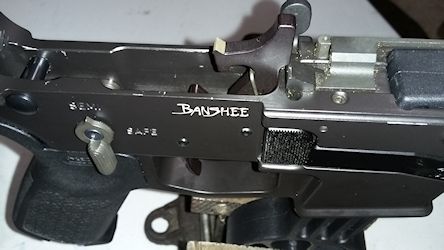
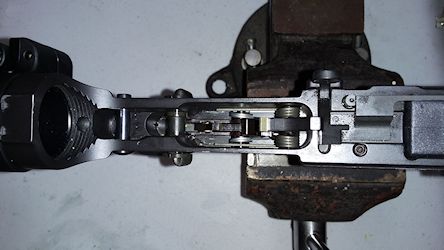
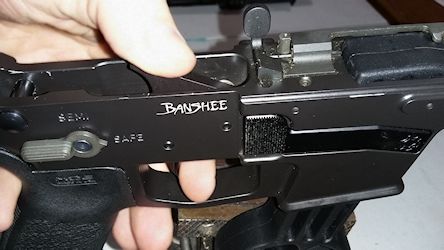
Some before pictures.
You might notice a little oil.
I didn't like how the original trigger felt so I was hoping a little oil would help.
Step 8 - Remove the hammer pin
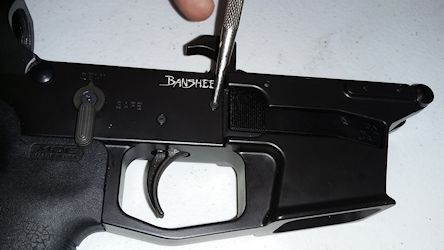
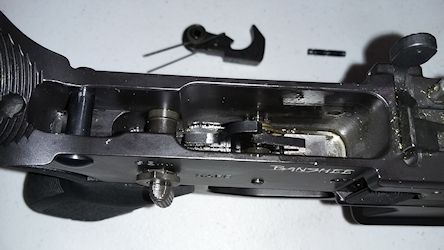
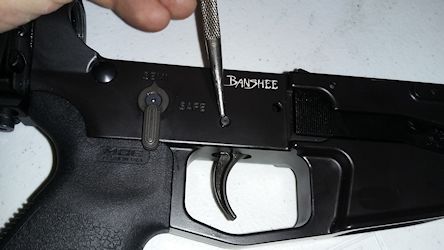
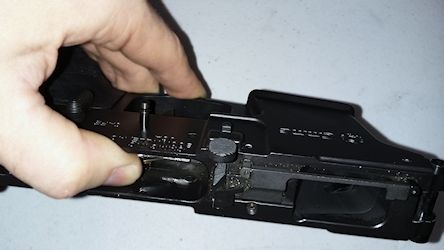
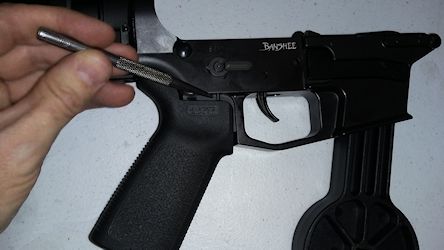
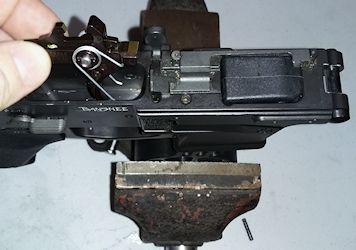
Use a punch to remove hammer pin.
Hold the hammer down when removing the pin because it's under spring tension.
As it comes out, remember how the pin is oriented.
Step 9 - Take out the hammer
With the pin removed, the hammer lifts out.
Step 10 - Remove the trigger pin
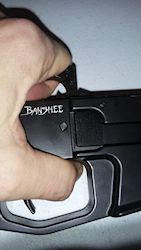
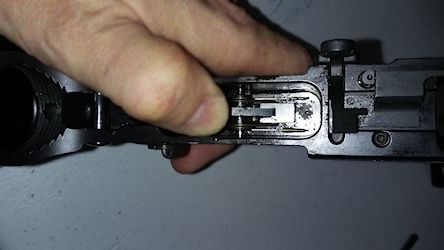
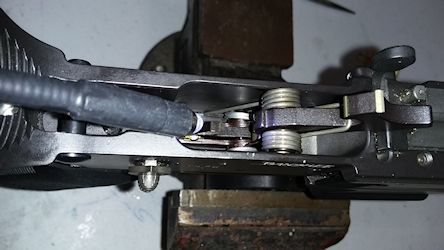
Press down on the disconnector when removing the trigger pin. When removing it remember how the pin is oriented.
Step 11 - Take out the disconnector
With the trigger pin removed, the disconnector can be lifted out.
Step 12 - Take out the trigger
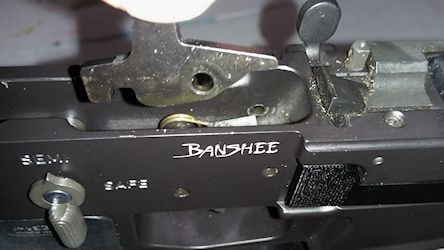
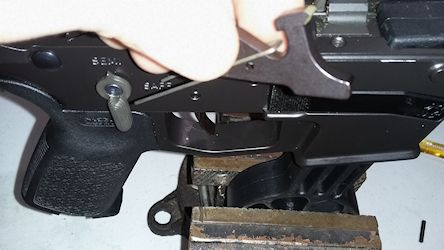
Remove the trigger.
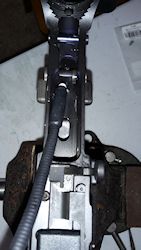
If you can't get the trigger out, you will need to rotate your safety backwards so the flat end of the safety is towards the trigger.
Some safeties might be able to be rotated without loosening the grip.
In this case the grip needed to be loosened first so that's shown in the next step.
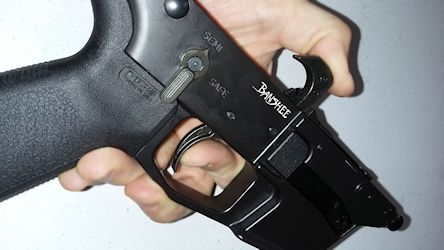
Step 13 - Loosen the grip if needed
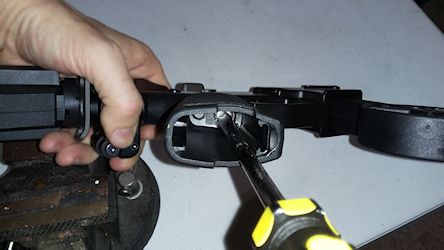
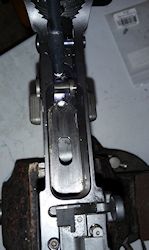
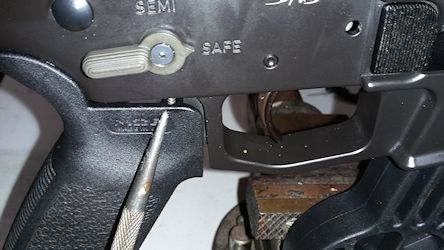
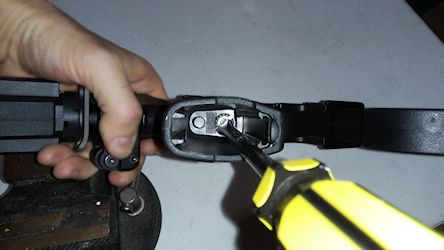
If you didn't get the trigger out yet, you will need to loosen the grip.
Inside the grip loosen the screw just enough so you can rotate the safety backwards.
There's a detent and spring there so be careful not to loosen the grip too much.
Once the safety is rotated backwards, the flat side of the safety will allow the trigger to be removed.
Step 14 - Remove the trigger
Now that the safety is rotated backwards the trigger can be removed.
Step 15 - Clean the inside of the trigger area
Clean the inside of the trigger area
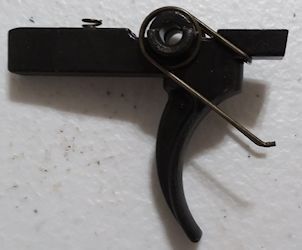
Step 16 - The disconnector is part of the Geissele trigger
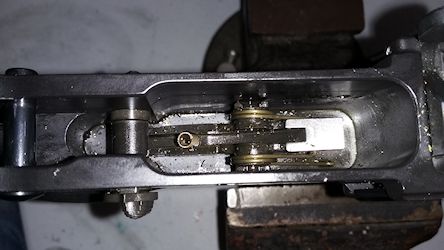
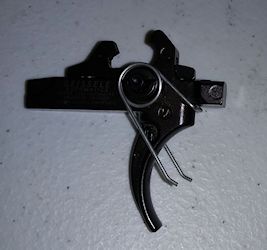
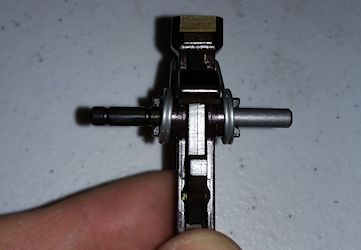
The trigger, trigger spring, and disconnector are one piece and the trigger pin is already in the assembly
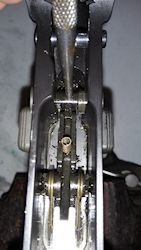
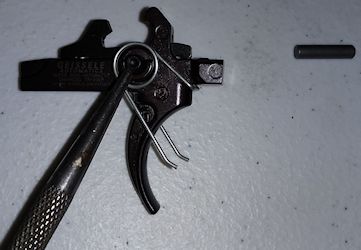
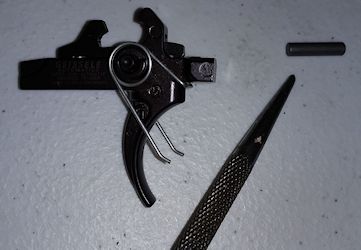
Step 17 - Replace the trigger pin with the temporary pin that's included in the kit
Make note of the orientation of the notches in the pin.
There should be a notch closest to the side opposite the ejection port.
Step 18 - Install the trigger assembly
Put the trigger with the temporary pin into the receiver.
Since the safety is still rotated backwards, the rear of the trigger fits under the safety.
Step 19 - Push the trigger pin in, pushing out the temporary pin
Make sure the notches in the pin are correct.
It will snap in place when it's in the correct spot.
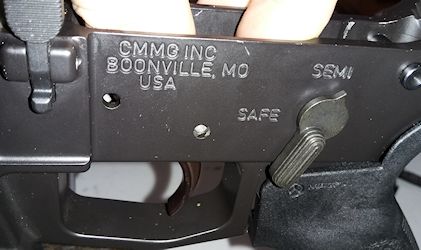
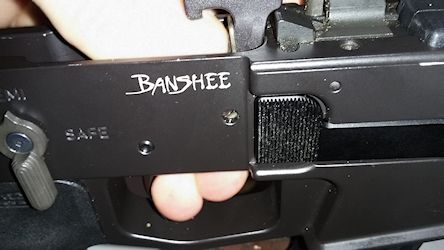
Step 20 - Rotate the safety back to the proper orientation.
Rotate the safety back to the proper orientation.
If you had to loosen the grip, tighten it back up, be sure the spring compresses correctly.
After the grip is tight, you can pull the trigger and it shouldn't move as far when the safety is engaged.
When the safety is not engaged and you hold the trigger back, then move it to safe, you should feel the trigger get pushed forward.
Step 21 - Remove the Hammer pin
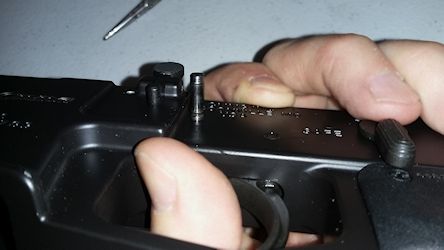
Push the hammer pin out. There's need to put the temporary pin in. Remember the orientation of the notches on the pin.
Step 22 - Oil the hammer pin hole
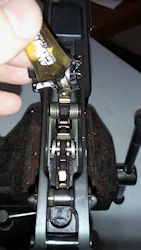
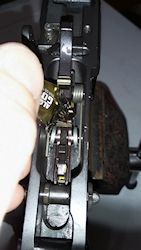
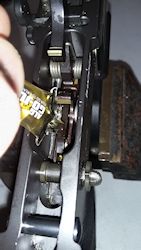
Using the oil that came with the trigger, put a drop in the hammer pin hole.
Step 23 - Hammer spring orientation
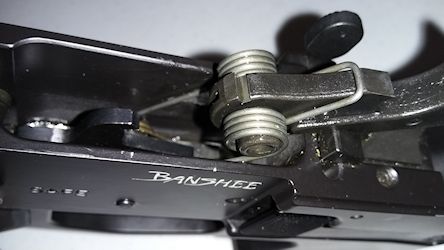
For the hammer spring, put the closed part of the loop against the back of the hammer.
Step 24 - Insert the hammer and spring
The two legs of the hammer spring will go on top of the trigger pin.
Step 25 - Insert the hammer pin
This is the most difficult step.
Pushing the hammer down and getting the pin inserted will give your fingers a workout.
I didn't get a good picture of the notches in the pin as it went in.
You can refer back to Step 8 if you need to.
Step 26 - Repeat the trigger functional test you did earlier
When doing these tests guide the hammer with your thumb so the hammer doesn't slam forward.
- 1a) Cock the hammer by pushing it back with your thumb.
- 1b) With the safety off, guide the hammer with your thumb so it doesn't slam forward and pull the trigger. The hammer should release.
- 2a) Cock the hammer.
- 2b) Pull the trigger and hold the trigger back. The hammer should release.
- 2c) Cock the hammer. It should get captured.
- 2d) Release the trigger. You should hear it click, meaning it's ready to be pulled again.
- 2e) Pull the trigger. The hammer should release.
- 3a) Cock the hammer.
- 3b) Engage the safety.
- 3c) Pull the trigger.
- 3d) The hammer should not release.
- 3e) Disengage the safety.
- 3f) Pull the trigger. The hammer should release.
Step 27 - Add lubrication wherever the hammer contacts the disconnector
Your trigger should have come with a little bottle of oil. Add a drop wherever the hammer contacts the disconnector.
Step 28 - Put the upper back on
Put the Upper back onto the Lower. Lock it in place with the Pivot Pin and Take Down Pin.
